Labels

Sunday, July 17, 2011

Fixing Tent Zipper with Velcro

 This weekend we went camping to Bryce Canyon. Last camping trip our tents zipper broke, so I had to figure something out. The tent is only a year and a half old and we have really liked it. We got it at Kmart for about 150$ and it has been really good for our family. There is lots of room, it is really easy to set up, and makes it through the weather without leaking. We have even had it in a foot of snow and it was good. So being cheap like I am, when the zipper broke I was determined to fix it and not have to buy another tent. Every tent we buy the zipper is the only thing that goes wrong, people have told us that maybe we are too hard on the zippers, but I think that the kind of tents we buy aren't really meant for the amount of camping we do.
So I bought 6 feet of fabric Velcro from walmart for about $6.00, put my sewing machine in my garage, and started pinning on the Velcro.
 I cut the velcro into about 4-6 inch strips and pinned it to both sides of the door. The reason I didn't do the whole 6 feet in one long strip is because I thought that if one part of the velcro started to open, the weight would pull open the whole door. Once they were all pinned I started sewing. I sewed each piece around all the edges with a straight stitch, I did a couple with a zig-zag stitches but it made the velcro not quite as effective. It took a lot longer than I thought it would, but it saved me $150!


The Velcro before it was sewing on.

 I was a little worried that it wouldn't hold up to my families in-and-out for 4 days, but it did AWESOME! I like it better than the zipper. It is easier for everyone to open and close, and we had no issues of the side of the tent getting stuck in the zipper. It wasn't that windy at Bryce, but I think it will hold up to most weather. We had a small sprinkle and there wasn't even a drip of water in. It worked just as good as the zipper, I think. I have a few other tents that I think I will have to change over to velcro.

The finished door. Even the campground at Bryce is pretty.


See how well it closes.


Funny little side note. I was in the garage sewing (which was weird enough) and I had the door into the backyard open to cool down a little. Soon enough, my little flock of chicks had made it in to hang with me! I sat for an hour with my 5 chicks sitting around me, they were sitting on the floor and would look up at me occasionally making their cute little cooing nosies. It was the weirdest sewing experience I have ever had.

Tip Junkie handmade projects

Saturday, June 25, 2011

Colonial Williamsburg and Beautiful Virginia

So, I know that this is not a craft, but I just have to post about my recent trip to the beautiful state of Virginia. From the moment I stepped out of the airport I loved it and it is one of the few places that I could imagine living, something this desert girl never thought would happen in such a flat, moist place. I went with my folks and we did the whole Historic Triangle: Jamestown, Williamsburg, and Yorktown. It was so nice, I learned so much about America and it's foundation. I Thought I would share a few of my favorite photo's, so bear with me....it is vacations pictures (dun, dun, dun)

This was the first bathroom we saw, and I thought it was just too funny.

The beautiful and fragrant Magnolia, my new favorite flower. I wish they would grow here.

The folks in silly hats. I think this is one of my favorite pics.

The crest of England. I had no idea that they had a Unicorn on their crest! I was walking along, looked up and thought "nice horse....wait! that horse has a horn! It's a unicorn!"


The gardens at the "Palace".


The Magnolia tree that want in my yard. My silly dad made me pose, showing the flowers off.


The garden that I want. This is a herb garden! I wish that I could get my poor garden to look even half like this.


On the Palace Green

My dad. He and I pretended to get impaled on the spikes. I think he really looks dead. This is where I get my weirdness from. There was a big crowd of people off to the side and I'm sure they thought we were crazy...or really cool and wishing they could act dead too.

A 200+ year old Oak. I took this pic on the the lame ghost tour. You see no ghosts do you?


The Indian hut I would prefer to live in over the colonial homes.

My dad being silly on a ship.


In the church in Jamestowns. It was very warm so we got fans. I would pretend that I was a southern belle and have a thick southern accent. I'm sure it was very annoying.

The Colonial Highway. I got to run along it, and the whole time I was thinking about the history that took place on it. I felt like if I looked quick enough into the trees I would see some Indians in their deer skins. If I listened hard enough I would hear the wagons and horses that traversed the road 200 years ago. At about mile 3, dripping with sweat and humidity, I really felt for any of the soldiers that had to march along in their hot uniforms.

Jamestown from the HUGE (at least to me) James river. I got to cross the river right where John Smith and Comp. did! Very cool. I was a little giddy about it.

Another pic of the Colonial Highway. So beautiful!

Sunday, June 12, 2011

Luau Birthday Party

 My little girl wanted a Luau Flamingo birthday for her 6th birthday...so I searched the web to see what would be cute for a young girls birthday. I found some cute cake designs, thoughts about decorating and food, then I went to the party supply shops and put it all together. Here it what I did.

We have a huge family but not many girls that would do the hula or things like that so instead of party games (which non of my nephews and nieces play anyway, all they want to do is play with each other) I made a pinata, and at the last minute Ashley said she wanted it to be a Flamingo instead of a beach ball. So it looked a little crazy, but it worked.

I made lemon aid and we set all the kids' cups up with their names and umbrellas. Then I made teriyaki pork in the crock-pot. We put it on buns with pineapple rings and it was so good. I used this cute Teriyaki brand called Soy Vey and then put in two cans of pineapple juice in the crock pot, letting it cook all night and shredded it.

My kids and I made this mural and wow it was not what I pictured in my mind of what I wanted it to look like...but we had a lot of fun making it.


Caesar salad and chips. My sister lent me this basket and it fit 2 Sam's club size bags of chips!
 I made palm trees from 2 plastic table cloths and some tissue paper. I cut the brown table cloth length-wise for the trunks and then cut a green table cloth in fourths and folded those over each other. I used a razor blade to make the "leaves", then bunched the middle together so they would look more like leaves and less like cut up table cloth and tied it with a rubber band. I did that 3 more times and then to give it some depth, I did the same thing with some green tissue paper. Once it was all up on the wall, I taped different leaves up on the wall. It looked really good, I just couldn't get a good picture and didn't have the time to take more.


The Cake
The Waterfall-Luau-Flamingo cake.
Ashley saw some waterfall cakes online and said that is what she wanted...then I had to figure out how to do it. I made a 9 x13 pan of chocolate, a 8 x 8 pan and then poured just a small amount in my Pampered Chef glass measuring bowl for the waterfall part with white cake. I used the 9 x 13 for the base, 8 x 8 for the middle, and the small amount for the rounded top. I didn't even need to use skewers to support it. I made two batches of white frosting and then needed to think about fondant. I was going to use my cricut and sugar paper to make flowers to put all over the cake, but once Ashley said she wanted only rocks so that was out. I have never used fondant before and was a little nervous that it wouldn't turn out. I didn't want to buy a huge pack because I wasn't going to use that much. So I found a recipe for small batches with everything I already had at home.

  • 8 ounces miniature marshmallows (4 cups not packed, or half of a 16-ounce bag)
  • 3-4 cups powdered sugar, plus extra for dusting
  • 2 tbsp water
  • Food coloring or flavored extracts, optional
Melt the marshmallows--I used a pan with a bit of butter--(this is when you add the food coloring it you want all one color) then add the powdered sugar and start mixing. When I gets too hard to mix and starts clumping, add a bit of water. When it won't mix anymore, dust your counter with some powdered sugar and start kneading until it is smooth. Don't knead too much as it will make it hard to handle. Keep sealed in a bag or plastic wrap when not working with it as it will dry our quickly.

I used this recipe to make the rocks, feet, beach towels, flamingos and it was so easy!
To make the rocks, I took small pieces of fondant, a toothpick, and put just a small line of color along the side and started rolling it like a snake. Bending it over on itself and rolling some more until it looked like a rock. Then I cut off small pieces, rolling them to look like boulders. Ashley did most of the rocks and I think she did really well. The colors I used together to get the different rocks were: Black, brown and red, brown and peach, yellow, yellow and brown. I think I they really turned out to look like real rocks. In fact, a few people asked if they were real rocks. I don't know if that reflects well on me that they look so real, or that they think I would really put rocks on a cake. I mixed blue for the beach towels and flip-flops and the color took really easy. The flamingos were just as easy too.

 
The waterfall had me a little perplexed. I first Iced the whole area with a base color of blue. Then I mixed another blue, more of a teal, and put both colors in a Ziploc bag along with some white. I cut the tip of the bag in a zigzag and started piping on the areas that were around the rocks and where the water "falls" making the white-water effect. Then I put just the two blues in a bag and piped in the rest of the water fall. I took a toothpick and swirled it around for more of a water look.
For the beach I put some base brown icing down and then Ashley ground up gram crackers in the food processor (she really loved it and wanted to do WAY more then we needed) then we sprinkled it around. I had to press it onto the sides for it to stay.


Ashley said there needed to be a guy that fell into the waterfall. So I made feet sticking out and she laughed for so long about it, I think that was her favorite part.


These are the sides. One is the "path" up to the top. I really just wanted more rocks on the cake because I liked them so much :)
Tip Junkie handmade projects

Wednesday, June 1, 2011

Teacher Appreciation Gift

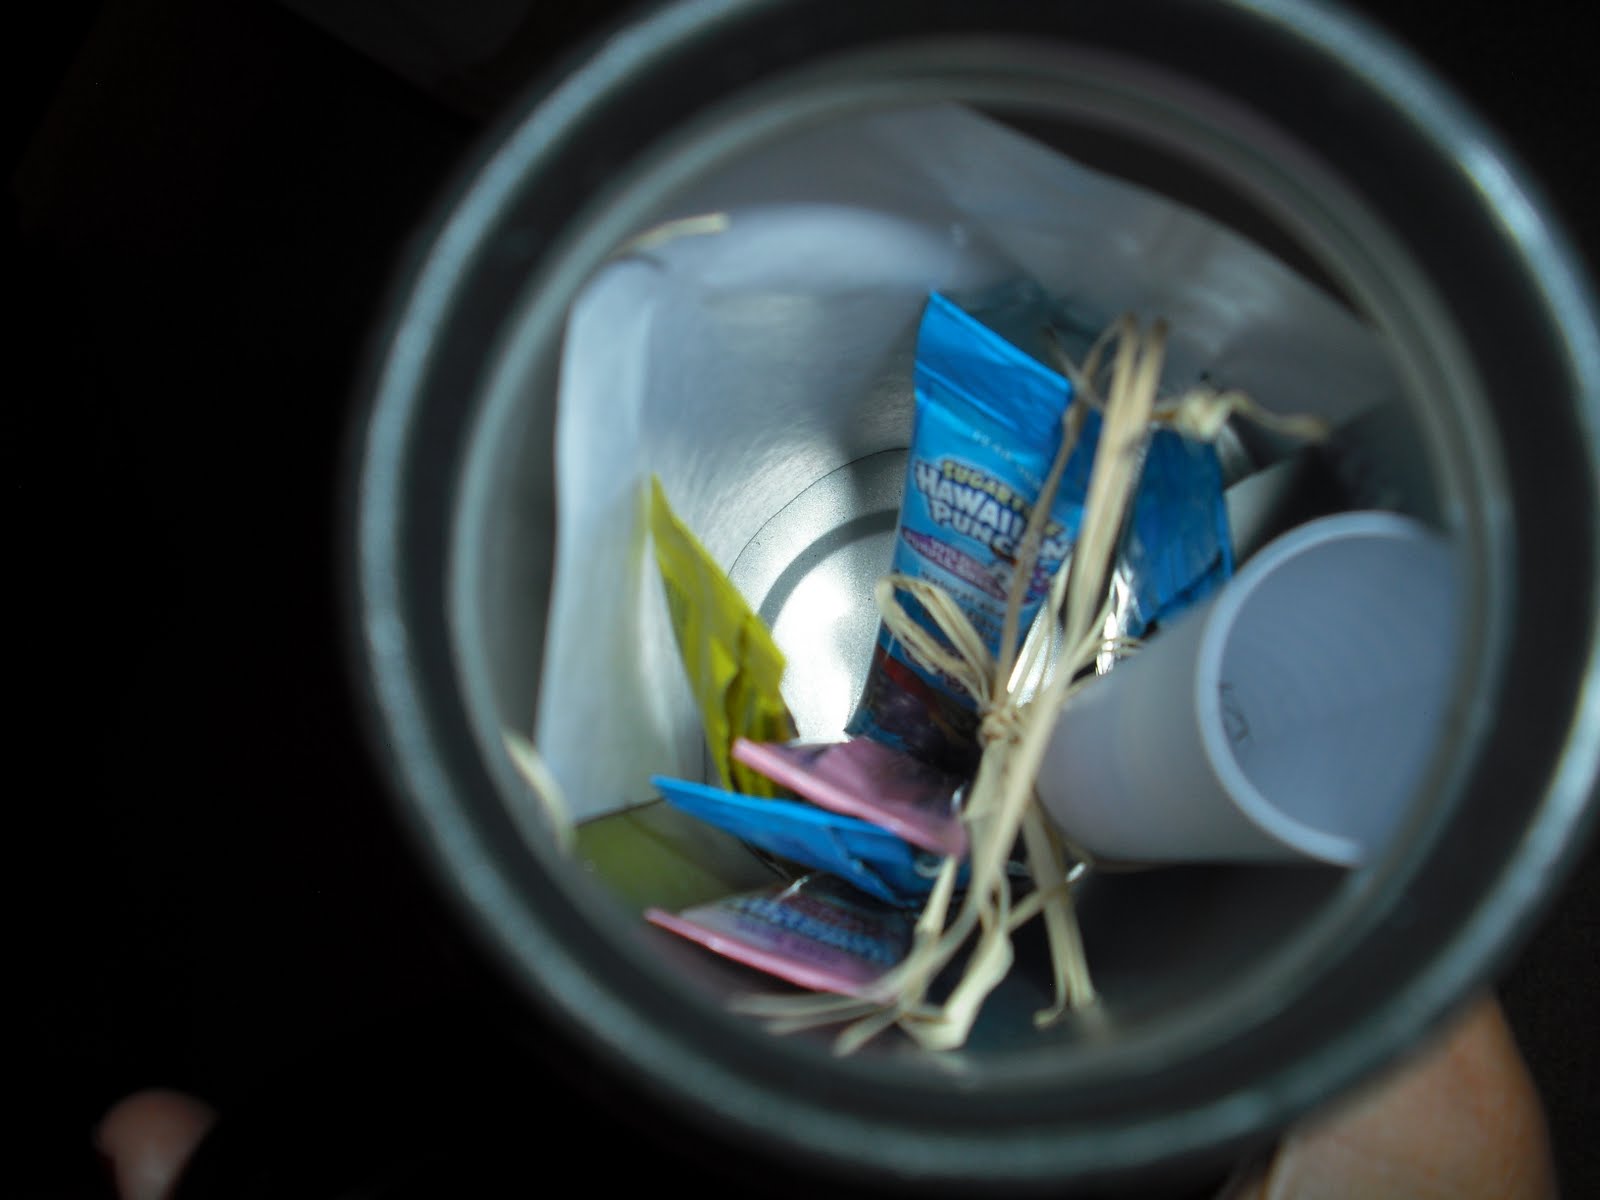
I wanted to do something small and easy for my kids teachers this year and had this great idea. I actually made water bottles for my kids in the same way. I just got these bottles from Kohl's and Ross and then cut the letters out on my Cricut. I chose something that would go along with each teacher, Ashley said that her teacher loves flowers so she needed them on her bottle. Then I filled them with Hawaiian Punch packs-which are just great, better than Hi C's, less sugar and calories for my kids- and a note of thanks for all they do. I think they turned out cute and they are one of those things that are more "expensive" then they really are.


The personal decals.

Hawaiian Punch

The Kids water bottles. We took these to the Grand Canyon instead of pop or Hi C's.

Sunday, April 24, 2011

Fun Spring Apron


Another apron...I know.
What can I say, I love apron and I guess I am becoming the apron lady to my sisters. Anytime there is a birthday or shower they tell me I should make an apron, and that is how this one came to be. My sister-in-laws birthday was a few weeks ago and she is so hard to shop for. So my other sis-in-law said that I needed to make her an apron because she loves the other one's I've made and has wanted one too. So I knew what to get her and I have been looking (loving, fondling, ogling; I sound like a fabric pervert) at this fabric for a while at Joann's wanting to make something from it.
Funny enough, this fabric although new, was the same print on a vintage apron pattern package!
How crazy, right!?
I have never done the heart bodice with the ruffles and they were surprisingly easy. Althoug, next time I think I need to make it just a little wider through the heart-part of it. I made the fabric flower in the center, but then never sewed it on before I gave it to her. I made this the night before we went to breakfast and was just finishing when they came to get me in the morning, I took so long deciding whether or not I liked the flower that I had to leave before I decided!
I think I like it better with the flower...or maybe without....I don't know.
What do you think?


With the flower.
 
Without the flower.


Don't you just love this fabric?!


Friday, April 22, 2011

Marathon Medal Hanger

This was my Husbands Christmas present. He had all his medals wadded up in a drawer and I think a Marathon is a thing to be proud of.
In looking around on google, all the medal hangers were like $40-60$, way too much for me.
So I went to this great shop called the Wood Connection and bought this unpainted board. It was originally for FHE board, but it works for me. Then I painted it black with 2 coats and then sanded the corners to give it that distressed look. I did a layer of gloss clear sealant. Using my (my mom's) Cricut I cut out the words. It was hard to get the letters on in just the right way, I need to get that contact paper for laying on vinyl. It took me awhile to find something that suited my husband, but I really like it.
I need to make myself one now.
 The medal's are from: Halloween half, Utah Valley full, St. George full, and Painters (St. George) half.
I started selling these on my Etsy shop.
Here is the link: